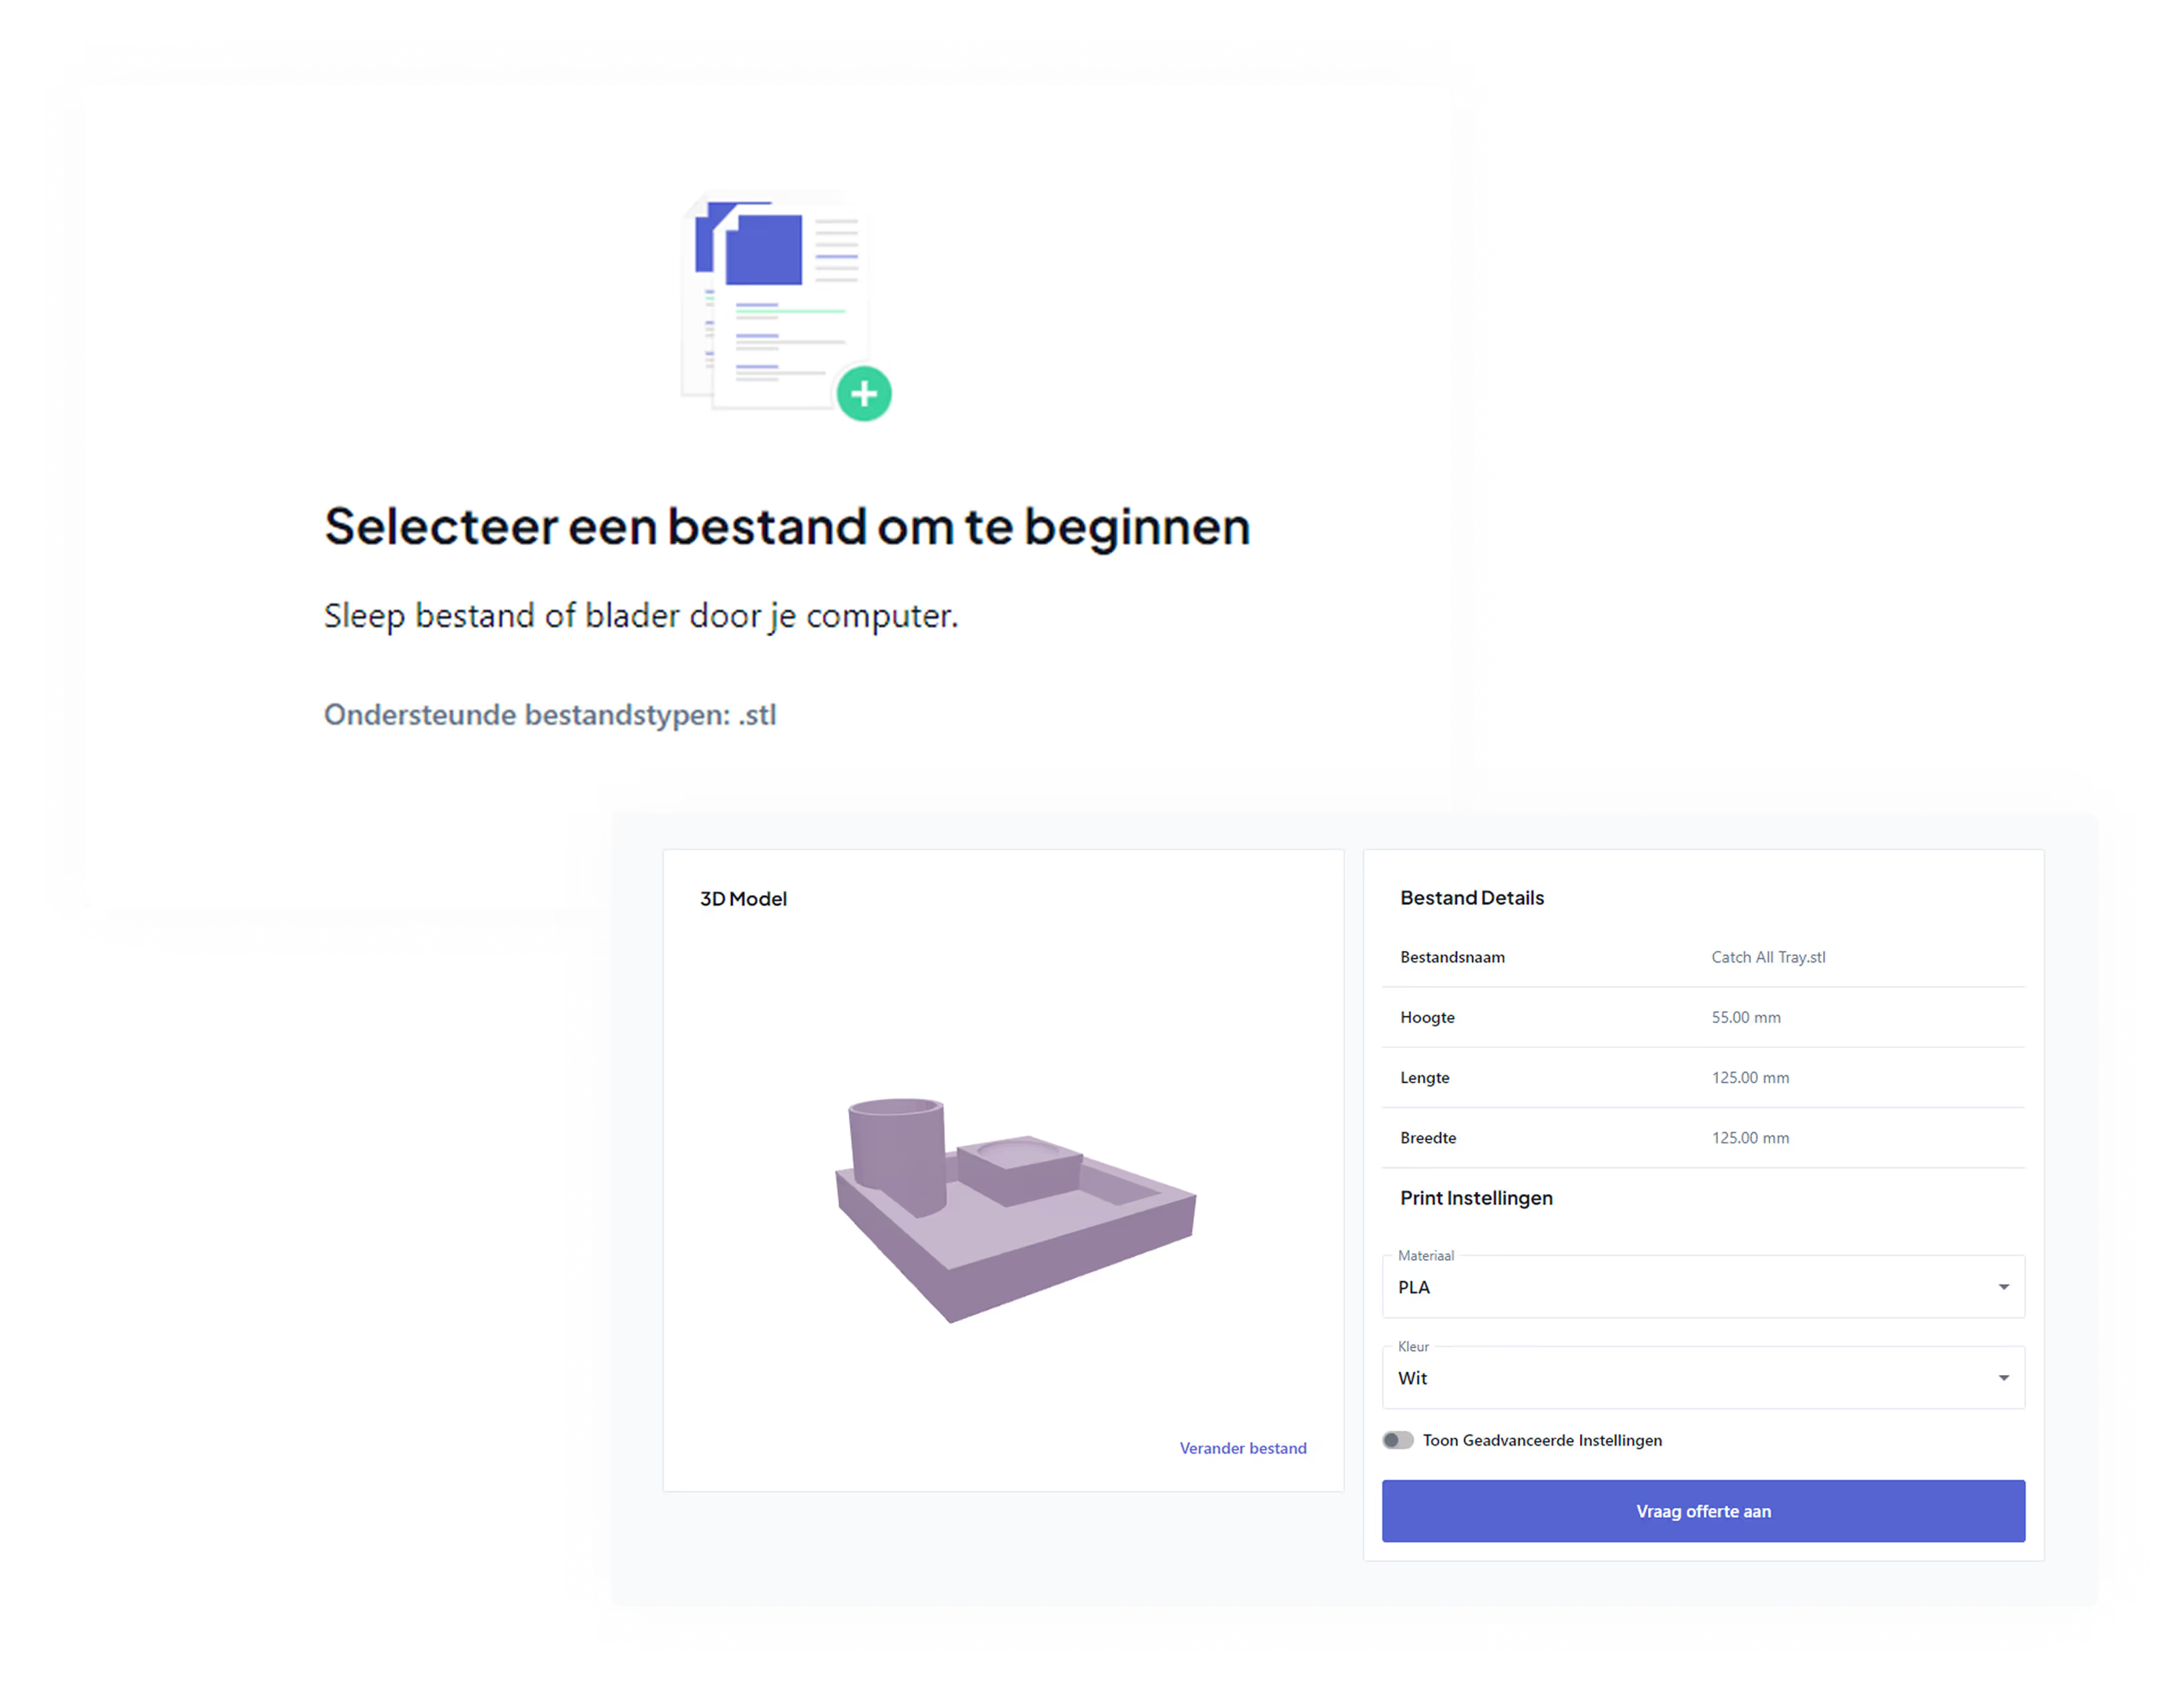



Before you can actually print your model, there are some important steps to follow. In this article, we explain step-by-step how to prepare a CAD/3D model for 3D printing.
Whether you're a 3D printing enthusiast, CAD designer, or hobbyist, these tips will help you achieve the best print results.
Preparing a CAD/3D model for 3D printing is super important. A well-prepared model ensures better print quality and reduces the chance of failed prints. You'll also save time and material, which ultimately saves you money too.
It starts with the right CAD software
You need the right software to create your model and prepare it for 3D printing. Here are a few recommendations:
- Fusion 360: Ideal for both beginners and advanced designers.
- TinkerCAD: A user-friendly platform perfect for beginners.
- SolidWorks: A professional tool for detailed and complex designs.
To slice your model, you need special software:
- Cura: A popular slicer widely used for FDM printers.
- Onshape: A cloud-based CAD solution that also includes slicer features.
Prepare your model in 5 steps
Step 1: Adjust scale and orientation
Start by adjusting the scale and orientation of your model. Make sure the model fits within the 3D printer's dimensions and optimize the orientation to improve print quality. Incorrect scale and orientation can lead to inefficient material usage and longer print times.
Step 2: Check and correct geometry
Use your CAD software to check for non-manifold geometry (parts of the model that aren't connected correctly) and overlapping geometry. Fix these errors to prevent the printer from stalling or producing inaccurate prints.
Non-manifold geometries can prevent the slicer from interpreting the model correctly.
Step 3: Add supports
Some complex designs require supports (supporting structures) to keep the model stable during printing. Software like Cura can generate supports automatically, but you can also add them manually for more control.
Also consider how you'll remove the supports after printing; some materials are easier to remove than others.
Step 4: Hollow out models
To save material and print time, you can hollow out your model. This is especially useful for larger objects. Make sure to maintain enough thickness to ensure structural integrity. Hollowing out models can also help reduce the weight of the final product.
Slicing the model
Slicing your model is a crucial step where your CAD file is converted into a language your 3D printer understands. Slicing software like Cura can really help with this. This software breaks your model down into layers and creates G-code that your printer can read.
Overview of slicing software
- Cura: Free and user-friendly, ideal for beginners.
- Onshape: Offers both CAD and slicing capabilities in one platform (though expensive).
- PrusaSlicer: Great for use with Prusa printers and features extensive customization options.
- BambuStudio: For Bambu Lab printers only.
3 tips for a successful print
Use the right 3D printer and material
The choice of your printer and material can make a big difference. For beginners, PLA filaments are a great starting point due to their ease of use. For more advanced projects, you might consider materials like ABS or TPU .
PLA is biodegradable and user-friendly, while ABS is stronger and heat-resistant but requires more experience.
Optimize your print settings
Depending on your chosen material and the complexity of your model, you'll need to adjust your printer settings accordingly. This includes things like print temperature, print speed, and layer height. By tweaking these settings, you can significantly improve the quality of your print.
Experiment with different settings to see what works best for your specific project.
Post-processing steps
After printing, you can further enhance your model by sanding, painting, or coating it. This gives your print a professional look and increases its durability. Here are a few post-processing techniques you might consider:
- Sanding: Use fine-grit sandpaper to smooth out any imperfections.
- Painting: Acrylic paint works well on PLA and ABS, and can be applied by hand or with an airbrush.
- Coating: A layer of epoxy resin can help strengthen the surface and provide a glossy finish.
- Acetone Vapor Smoothing: For ABS prints, acetone can be used to smooth out the surface.
- Heat Treatment: For some materials, heat treatment can help improve the strength and durability of the model.
- Polishing: Use polishing paste and a soft cloth to make your print shine.
Why choosing the right printer matters
A good 3D printer can be the difference between a successful print and a failed one. Consider factors like build volume, ease of use, and maintenance requirements. For beginners, plug-and-play printers like the Prusa i3 MK3 are an excellent choice, while advanced users might prefer more sophisticated machines like the Ultimaker S5 or the Bambu Lab P1S.
Fine-tuned print settings for better prints
Optimizing your print settings is key to achieving great print quality. Think about factors like print temperature, layer height, and print speed. These all need to be dialed in based on the material and the design of your model. For example, printing too fast can lower the quality, while a temperature that's too low can prevent the layers from bonding properly.
Conclusion
A successful 3D print starts with the right preparation and choosing the right equipment. Whether you're a beginner or a seasoned maker, the right tools and materials ensure reliable, high-quality results.
By paying attention to post-processing and finding the optimal settings for your printer, you can take your prints to the next level. Don't forget that experimenting and learning are part of the process; every failed print is just a chance to improve.
Is your model ready to be printed? Then use our 3D printing service.