


Infill is a term you need to understand if you want to 3D print something. We’ll explain everything, from infill percentage to patterns.
A very important concept in 3D printing is "infill." But what exactly is it, and why does it matter?
What is infill?
Infill refers to the internal pattern and density of a 3D-printed object. It’s the "skeleton" inside your print that provides strength and structure without needing to be completely solid. Without infill, your object would either be hollow and break easily, or solid and consume a lot of material.
The goal of infill is to strike a balance between strength and material usage. By choosing the right infill settings, you ensure your object is strong enough for its purpose without wasting filament.
Different types of infill patterns
There are various types of infill patterns you can use in your 3D printing projects. Each pattern has its own pros and cons. Here are some of the most common ones:
Grid
A grid pattern is simple and fast to print. It offers decent strength and is ideal for basic objects.

Honeycomb
The honeycomb pattern is one of the most popular infill patterns due to its strength and efficiency. It offers a great balance between durability and material usage.

Triangles
This pattern is even stronger than honeycomb and is often used for mechanical parts that need to withstand heavy loads.

Gyroid
Gyroid infill is known for its high strength-to-weight ratio and unique, wavy structure. It’s perfect for objects that need to be both lightweight and strong.

Archimedean chords
This pattern offers a good mix of strength and flexibility. It’s suitable for objects that need a bit of resilience.

Keep these factors in mind when determining your infill percentage
When choosing the right infill percentage, there are several factors to consider. Here are a few to keep in mind:
Purpose of your print
For decorative objects that don't undergo much stress, you can use a lower infill percentage like 10%. Functional parts that need to support a lot of weight require a higher percentage.
Material usage and print time
The higher the infill percentage, the more material you use and the longer your print time. Finding a balance is crucial to save on costs and time.
Sturdiness and weight distribution
Some projects require specific weight distribution or extra sturdiness. In such cases, you should adjust your infill percentage accordingly.
Guidelines for choosing the right infill percentage
Choosing the right infill percentage might seem daunting at first, but these guidelines will help you:
15% to 20%: most common, for general use
For most standard prints, an infill percentage of 15% to 20% is more than enough. This provides a good balance between sturdiness and material usage.
25% to 50%: for mechanical parts
For parts that need to withstand heavy loads, such as gears or support structures, it’s better to use a higher percentage, between 25% and 50%.

Over 50%: for critical structures
For highly critical structures or parts that need to withstand extreme forces, we recommend increasing the infill percentage to above 50%.

Two practical tips for your 3D printing infill settings
Now that you have a good grasp of infill, the different patterns, and percentages, here are a few practical tips to optimize your infill:
Test different patterns
Experiment with different infill patterns to see which works best for your specific project. Sometimes a different pattern can yield better results.
Use variable infill
Some slicer software allows you to use variable infill, where you can assign a higher or lower percentage to parts of your model depending on the required strength.
Conclusion
Infill is an important aspect of 3D printing that affects the sturdiness, weight distribution, and material usage of your printed objects. By understanding what infill is and how to choose the right percentage and pattern, you can achieve better results with your 3D prints.
For most standard prints, an infill percentage of 15% to 20% is usually sufficient. For parts that need to handle more load, you might consider increasing this percentage. Experiment with different patterns and percentages to discover what works best for your specific project.
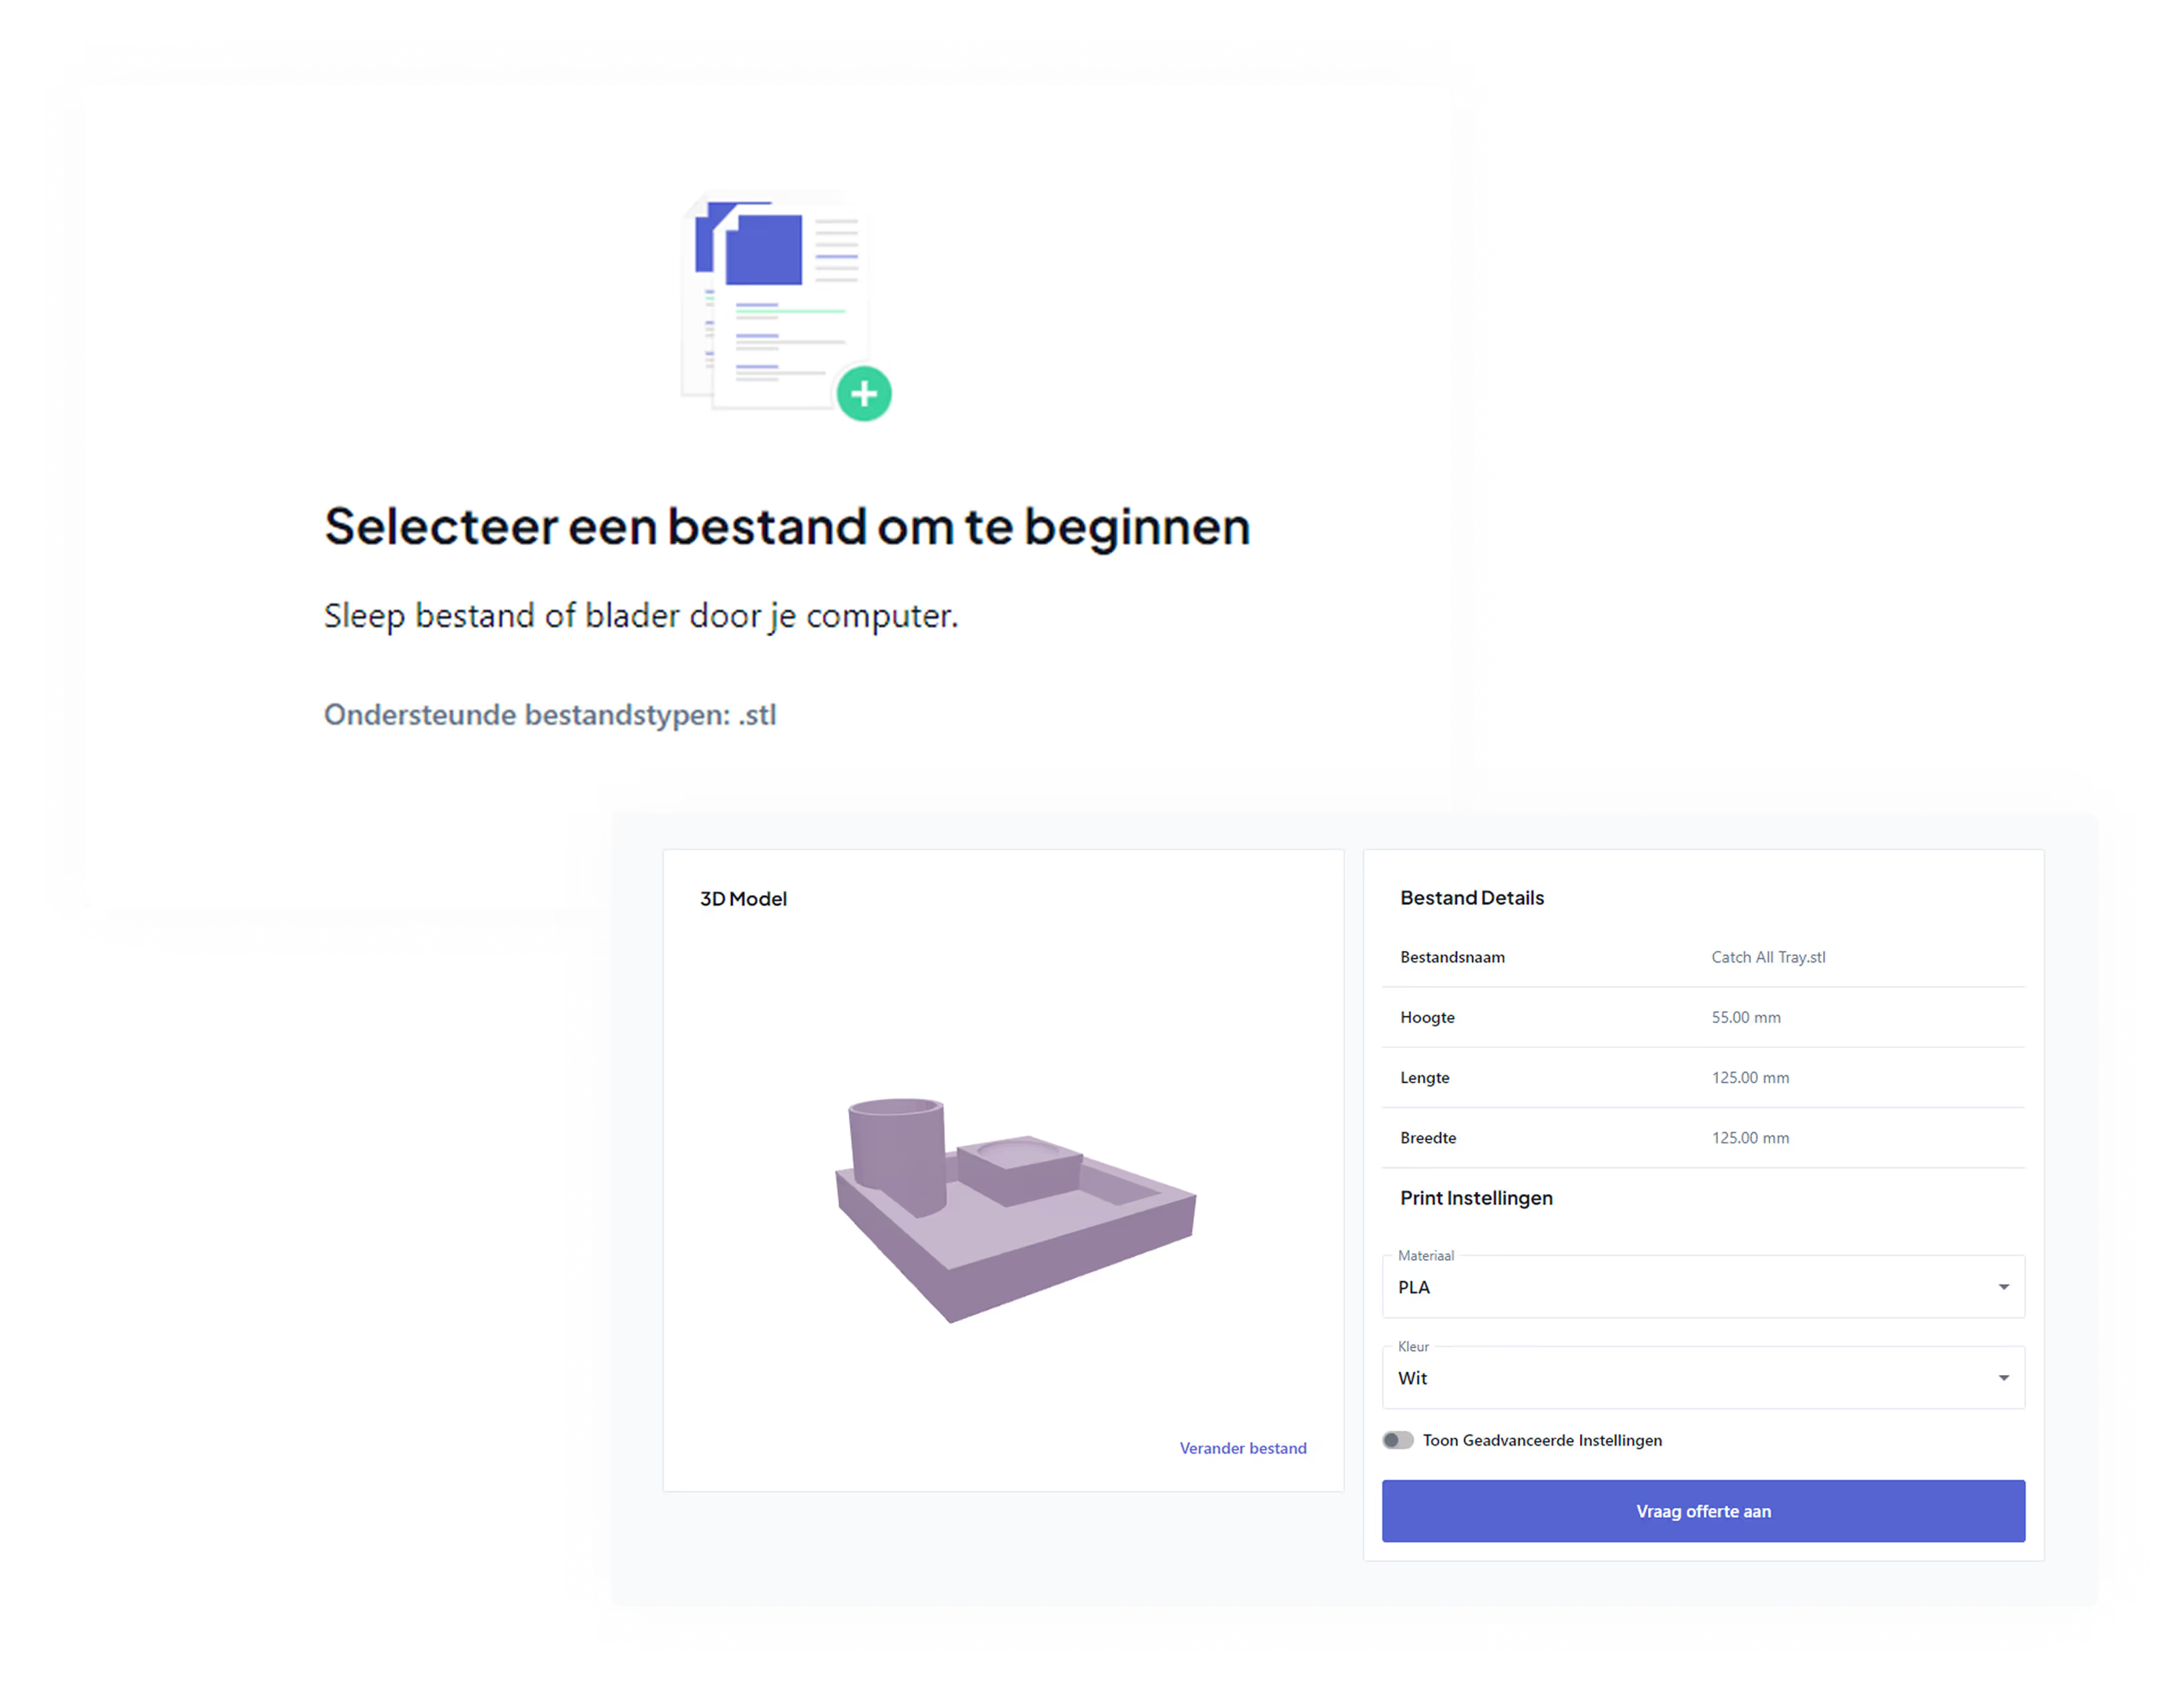
Looking to have something 3D printed? Use our 3D printing service.
%20Bij%203D-printen_.jpg)