


How exactly does a 3D scanner work?
A 3D scanner measures the shape of a physical object and converts it into a digital 3D model that you can view, edit, and therefore also 3D print.
To do this, almost every scanner consists of two things: a light source and one or more cameras. The scanner projects light onto the object, and the camera captures how that light reflects back.
From the slight difference between what the scanner emits and what the camera sees returning, the software calculates the exact distance to every point on the surface.
If you do this for thousands of points at once, a point cloud is created: a digital cloud of individual measurement points that together describe the shape of your object. Because a camera never sees all sides at once, you always scan an object from multiple angles. The software stitches those scans together into a single whole.
After that, the software converts the point cloud into a mesh: a network of thousands of tiny triangles that closes the surface. That is the 3D model you ultimately use.
The more points and the finer the triangles, the more detailed your model. If you want to know how to print such a digital model afterwards, read how a 3D printer works.
How accurate such a scan is depends on the resolution: the smallest distance between two measurement points. Professional scanners measure accurately down to a few hundredths of a millimeter, or a few microns, whereas a cheap smartphone scanner captures a much coarser shape.
For a rough image of a large object, little detail is sufficient, but if you want to replicate a small, fine part, you need a scanner with a high resolution. So, determine how precise it needs to be before you choose a scanner.
When is 3D scanning useful, and when is it not?
3D scanning sounds like magic, but it isn't the best route for every job. The difference lies in what you want to achieve.
Scanning is especially useful if you want to digitize an existing object that doesn't have any drawings. Think of an old part that is no longer for sale and that you want to replicate or have made as a prototype, a piece of art or a figurine you want to reproduce, or an organic shape that you could never draw by hand.
Also, if you want to make something that fits perfectly around an existing object, like a case or a holder, a scan gives you the exact dimensions.
Scanning is not the smartest choice for simple, straight shapes. A block, a tube, or a plate with holes is faster and more accurately drawn in a CAD program.
If you need technical precision down to a tenth of a millimeter, modeling by hand is often better, because a scan always has a bit of noise. And some surfaces are tricky: shiny, transparent, or black materials reflect light incorrectly, leaving the scan full of holes.
There is a trick for that (a thin layer of matte spray), but it takes extra work.
In short: for unique, complex, or existing shapes, scanning is worth its weight in gold. For simple or super-precise parts, you're better off using a CAD program.
What types of 3D scanners are there?
Not every scanner works the same way. You will most often encounter these four types, each with its own strengths and weaknesses.
Laser scanner
A laser scanner projects a thin laser line onto the object and measures how that line deforms. From that, it calculates the shape very precisely.
It is highly accurate and reliable, even with more difficult surfaces. It is the favorite for technical measurements and inspection. It just doesn't capture color, is often more expensive, and cheap models can strain your eyes if you're not careful.
Structured light scanner
This type projects a pattern of stripes or dots onto the object (structured light) and uses cameras to see how that pattern warps over the shape.
This type works quickly and often captures color and texture as well. Because it works with regular light instead of a laser, it is safer for the eyes. It does struggle with shiny and dark surfaces and is sensitive to bright ambient light, so it's best to work indoors.
Photogrammetry
With photogrammetry, you take dozens to hundreds of photos of an object from every angle. Software identifies matching points in those photos and builds a 3D model from them. In principle, all you need is a camera. Take a look at our article from image to 3D print.
This is an inexpensive way to get started and is excellent for capturing color and texture. It can be much less dimensionally accurate, requires significant processing time, and plain or shiny surfaces without recognizable details result in poor scans.
LiDAR and smartphone scanners
Many modern phones have a LiDAR or depth sensor that allows you to scan using a free app. LiDAR measures distances using light pulses and is ideal for larger objects and spaces.
This type of scanner is quite accessible; you don't need expensive equipment, and it's fast. However, the resolution is low, so it's not very useful for small objects with fine details. It's great for practice, but less suitable for precision work.
Which 3D scanner is right for you?
In short, the choice depends on your goal. If you want technical precision, choose laser or structured light.
If you're focused on color and texture or large objects, photogrammetry is a strong choice.
And if you mainly want to try something out quickly and cheaply, start with a smartphone scanner.
For most hobbyists, structured light or a phone app is the best starting point, while companies that do custom work more often opt for a laser scanner.
From scan to print-ready 3D file: how the process works
A scan isn't a file you can just send straight to a 3D printer. There is a cleanup phase between scanning and printing. These are the steps.
- Prepare the object. Ensure good, even lighting. If the object is shiny, transparent, or black, apply a thin layer of matte scanning spray so the scanner can clearly see the surface.
- Scan from multiple angles. Walk around the object or rotate it so the scanner captures every side. Don't skip any angles, as missed spots will become holes in your model.
- Merge the scans into a point cloud. The software combines all individual shots into a single point cloud of the complete object.
- Convert the point cloud into a mesh. The points are connected to form a dense network of triangles: the actual surface of your model.
- Clean up the model. This is where the real work happens. Using software such as Blender remove noise and stray points, close holes, delete unnecessary faces, and make the model "watertight": completely sealed, with no gaps, so the printer can handle it.
- Convert it to an editable model if needed. If you want to adjust the shape or add dimensions, you can convert the mesh into a CAD model. This is called reverse engineering and is useful if you want to improve a part instead of just copying it. You can read about how to make a CAD model print-ready in a separate article.
- Export to a printable format. Save it as STL, STEP or 3MF, the file types every 3D printer understands.
- Check and print. Verify that the wall thickness is correct and the model is truly watertight, then send it to the printer.
People often underestimate step 5 in particular. A raw scan is almost always full of tiny holes and imperfections, and you have to remove those before you can get a clean print. The difference between a beautiful scan and a failed print usually lies exactly in that cleanup work.
Get your scan professionally prepared for printing
Do you have a scan, but are you getting stuck on the cleanup, sealing, or converting it into a printable file? That is exactly the part where many people get hung up, because it requires the right software and some experience. A nice scan result is not the same as a printable model.
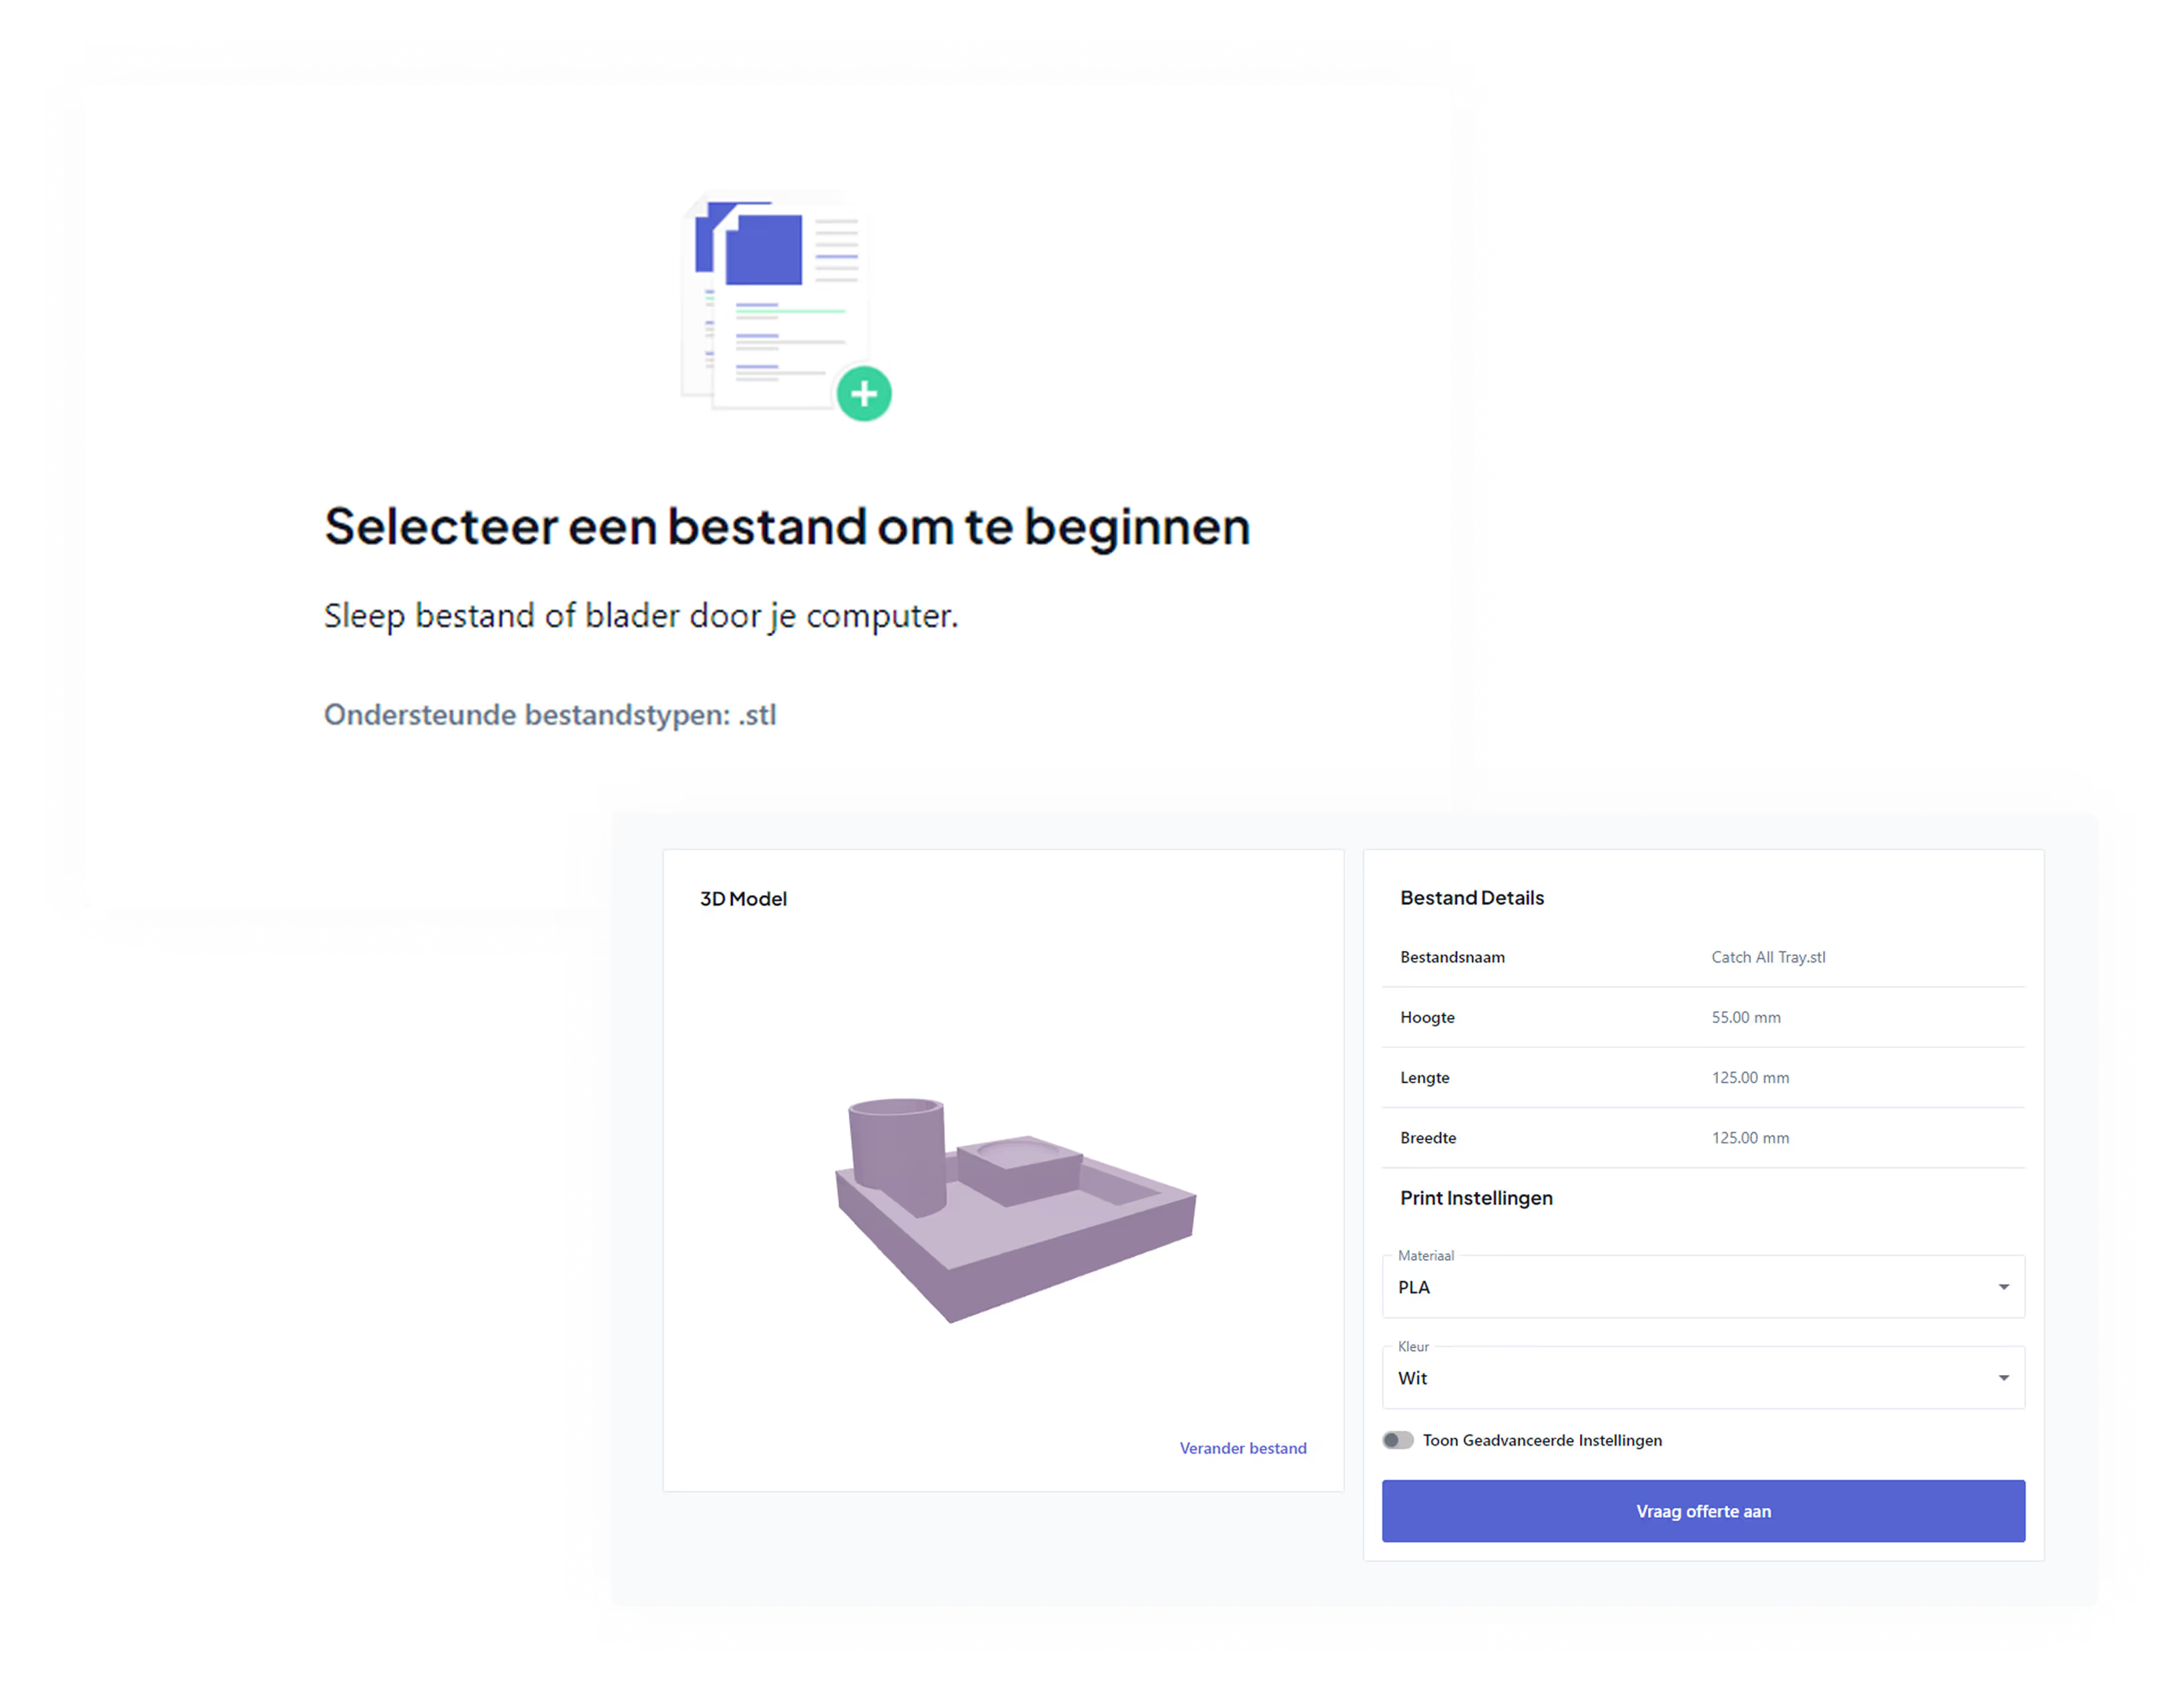
We’re happy to help with that. Just send us your file and we’ll make it print-ready, or we can build a clean 3D model that you can edit.
And if you want to hold the physical object right away, we’ll print it for you. That’s how your scan goes from a raw point cloud to an object you can actually hold. You can find more information about the entire process from idea to print in our knowledge base.